Showing posts with label group work. Show all posts

07 May 2013

Book Detectives: Reciprocal Teaching

Book Detectives is an amazing resource that I use during reading groups. It's not my idea (it came from Moray Council Aberdeenshire Council in Scotland), but I have made it my own and established it in my classroom routines.


The above task cards are developed by me using the Book Detective roles. I created Learning Intentions and Success Criteria to go with every role. On the back, there are examples, questions to consider, or other prompts to help pupils fulfill the success criteria.

I implement these task cards in different ways. I have 4 reading groups. Each reading day, I meet with 2 reading groups (by the end of the week, I meet with each group twice. We have 4 reading days). Every reading group is given a task from the Book Detectives ring that they must complete. Sometimes each group has the same task, sometimes different ones, depending on the book they're reading or the skills they need to practice. With older children, I would slowly train them to become more independent with the roles/tasks and have each member of the group fulfill a role and feedback to their reading group. I'm no where near that with my current class, but maybe some time in the future with a more able class I will be able to implement Book Detectives that way.

How do you implement and organise your reading groups?


02 February 2013

Houses: A Collaborative Project


This project all started from this one inspiration at the Duplo on Monday. A few children were building houses and I asked them what their houses were like and this attracted a lot of attention and interest. I also asked about different rooms in their houses, but I quickly realised that this was met with some confusion and lack of understanding. Rooms? I got answers like "teddy bear," and "I have a doll." Hmmm. Guess we don't really understand the concept of a room. When I said words like "kitchen" and "bedroom," the children began to understand a bit better. The next day, we put out a resource that the children could play with to explore different rooms in their homes. I don't have a photo of it, but it's essentially like a doll's house, but separate boxes to act as rooms, and the children set up the furniture and characters appropriately.

Next, we looked at photographs of different types of homes in their community. There was a lot of interest as they recognised buildings and houses like their own, and we discussed things like the shapes, colours, and what they're made of. From there, we began our project of making a house.

One child drew a big square after discussing what shape the house should be. Next, several children helped cut along the lines.


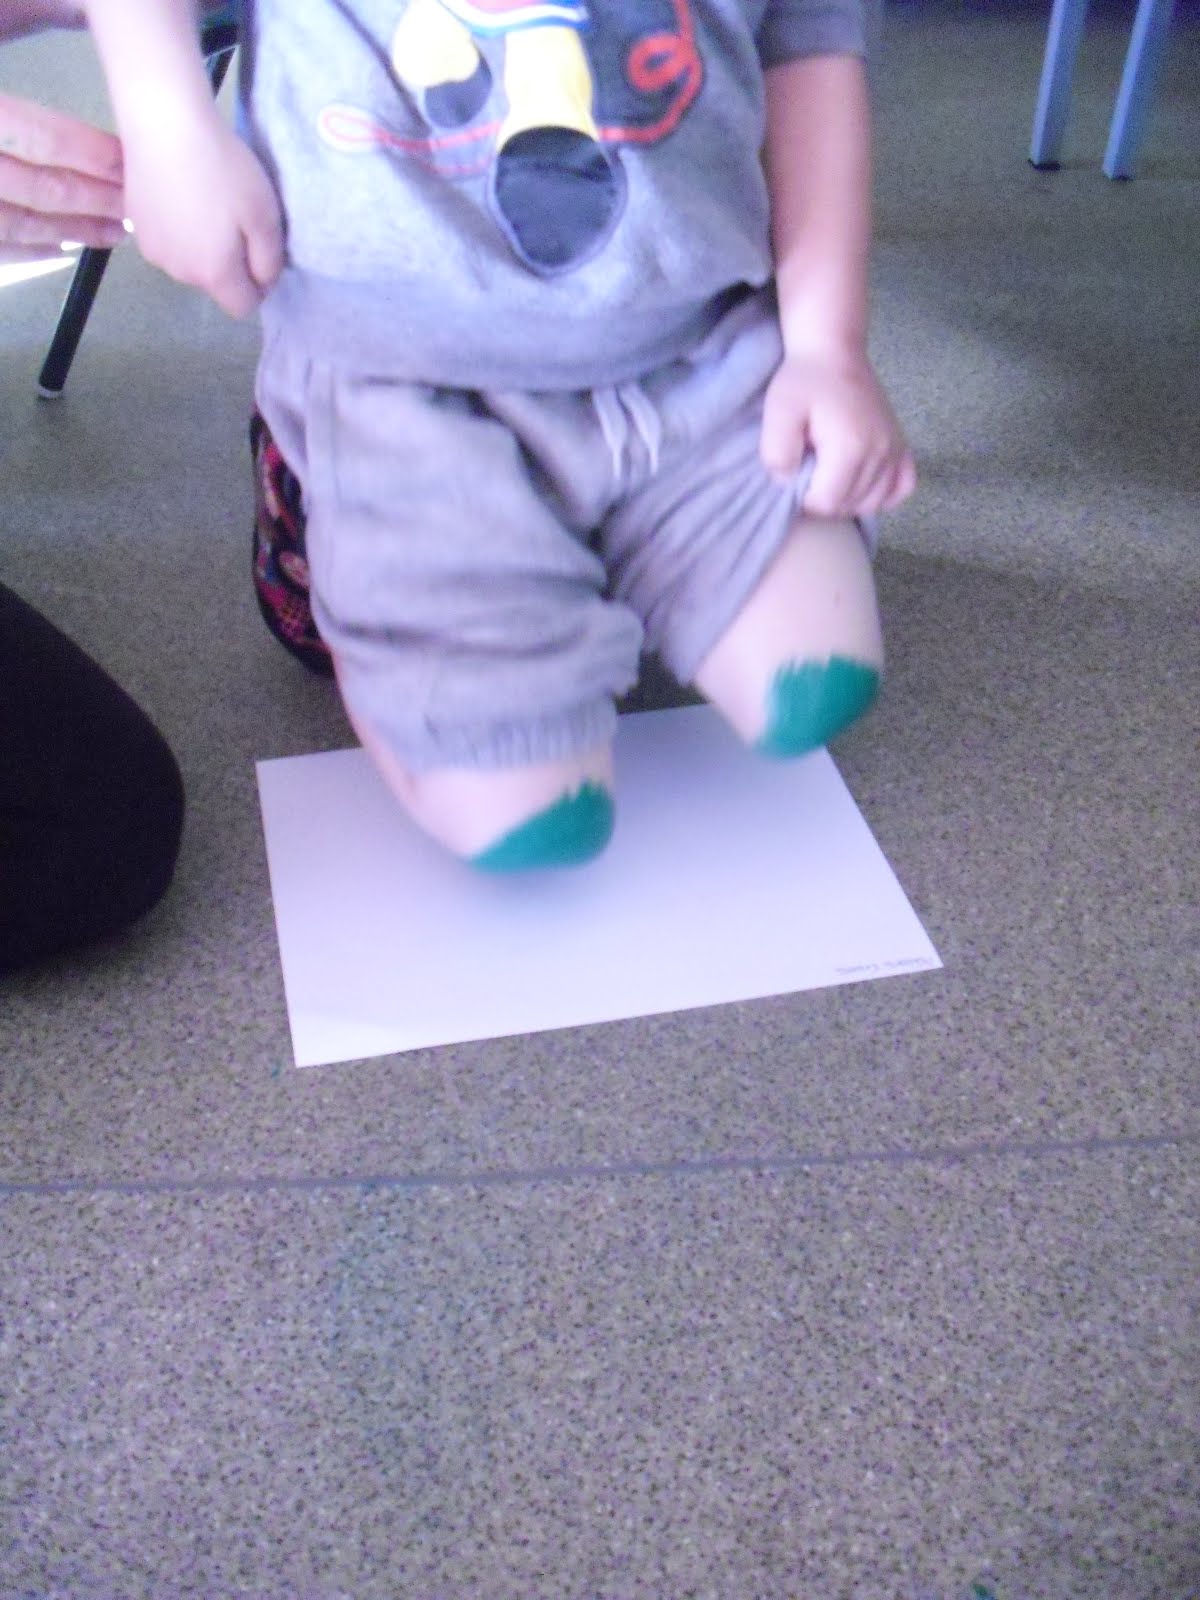
This was a great way for me to assess some of the children's scissor skills. I also made sure that children had appropriate scissors for their developmental level. You'll notice that some of them have spring scissors while others have regular children's scissors where they operate them by opening and closing.

Next, we had a discussion about how we should colour the house. Most children agreed that we should use paint. I asked them what we should use to paint it because a house wall isn't always smooth. There was some confusion, so to help them understand we went outside to look at and feel the texture of the wall on the outside of the school.


Some children said, "bumpy," "rough, "ouch!" and "spiky." When we went back inside, we looked at some of the things we could use to make the house look like those words. We found gloves that have textured materials attached to them and we all agreed that they would make our house look bumpy.


When our house dried, we talked about what elements it should have. They all agreed that we needed windows and a door, so we got to work. Again, this was a great opportunity to see some scissor skills in action. Throughout this project, I had children dropping in and out, so I always had different helpers.


Next, we painted the door blue. We used rollers because that's what "house painters" use.


Throughout this project, we had been looking at photographs of houses for reference. The children noticed that there was white trim around the windows and doors. We discussed what they might be called, but they didn't know, so they learned two new terms: "window frame" and "door frame." They used the rollers to add this to their house as well.


In some of the photographs, the children noticed a "fence" or the porch and they wanted to add that as well.


Finally, the children discussed their need for a triangle roof. They drew the shape, cut it out, and painted it red. One of the children said as they were rolling, "It feels like I'm painting a real house."


When everything was dry, two helpers attached the square house and triangle roof using sticky tape.


Sadly, I forgot to take a photo of the finished product up on the wall! I assure you, it looks fab because the children did it all by themselves with only verbal guidance and prompts from me. After we hung it on the wall, some of the kids made labels so that visitors will know what all the parts of a house are.

There are so many things we can do from this project, and I'm hoping it's not over yet. As you can see, this interest has already made its way into other areas of their learning:


And all from this one little model:


15 September 2012

The Body: Child-Led Learning


A few weeks ago, I wrote a post about mark-making which showed different stages of drawing people. One of the examples depicted people with legs coming out of their necks, which is quite a common thing for children to do when drawing people.

As a result of this, I thought a good way to progress the children's understanding of the body would be to look at it a little closer and learn about all the different parts. First, we traced someone's body:


Then we made a mind map of what we know about the body. Unfortunately, I don't have a photo of the mind map right now, but essentially, it says "bodies" in the middle and the children drew pictures, shared ideas, and wrote words all about the body. One wee boy said that we all have a love heart in our bodies! Another boy prefers writing to drawing, so he wrote words like "feet," "chin," "back," "eye," "eye," (yes, twice, because we have two eyes) "body," and "nose." He wrote it all with minimal support!

Next, we took photos of different parts of our body. The children were in charge of deciding what body parts to photograph and they were in charge of actually taking the photo. The more responsibility the children have, the better.


After we printed the photos, some children helped to make labels for them and we stuck them up on the cut out body tracing on the wall.

Simultaneously, there was a body painting activity going on. The children chose what body part they wanted to print onto paper with paint:


The body painting was so popular, we had to bring the activity outside for some collaborative foot printing:


The paint trays got a little slippery, so there may have been some painty bottoms! If you do this activity with your class, make sure you have some tubs of warm, soapy water, towels, and chairs handy for the clean up!

Speaking of clean up, always get the children to be responsible for cleaning up their own messes. It's their classroom, so they should be responsible for it to have a sense of ownership.


Phew. All that from a drawing of legs coming out of a head! And we're not done yet! The children have shown an interest and knowledge about bones and the heart. I'm hoping to extend their learning experiences with this interest in mind.

Note, these activities did not all take place in the same day. These occurred over the course of a week or so, always adding and extending learning experiences based on things the children said, did, or asked about.

27 May 2012

Group Task Management

In my short time as a teacher, I've heard pros and cons to using Group Work as a teaching tool. Some people think it's the lazy teacher's way to get through the day, some people believe it's a way to get pupils to take charge of their own learning. If you have self-motivated pupils, then group tasks can be beneficial, but I don't think group work should be avoided just because some pupils need a little more motivation and guidance.

I'm sure I'm not the only teacher who's learned the hard way that dividing pupils into groups to accomplish a task requires more management and thought than you'd think. With no guidance, pupils fight over who will do what, or won't actually accomplish anything because no one has really taken charge or taken initiative. As a teacher, you really have to guide pupils with everything from who will collect resources for their group, to who will physically write down information. To be fair, some pupils just click and get on with it; but there are some who really need your guidance in order to accomplish the task you've set them.

Often when I divide my kids up to work in groups, I assign them roles so everyone is clear on what they need to contribute to their group. I've carried this out in several ways in the past: I've popped wee post-its on certain pupils to indicate who's the Scribe/Author, I've written the titles of each role on slips of paper and handed them out randomly, or I've allowed the children to decide who will be what. What I find to be the best method to carry out assigning roles is having these cards to use and re-use:


I created this set myself, including the illustrations. I've printed, cut out and laminated a few sets of these cards (so you can hand them out to several groups) so I can just keep reusing them. The children quickly learn what group roles are and what their responsibilities are, but I find the cards to be a good reminder. On the back of each card, the role title is written at the top with some reminders of what they should do:


I made up a separate page of the job descriptions and glued them to the back of the picture cards before I laminated them. Easy peasy.

I explained the group roles to the children as their Job Titles. For instance, my job title is "Teacher." The Job Titles, or Roles, that I use are:

1. Manager
2. Illustrator
3. Reader
4. Author
5. Resource Manager
6. Reporter

I don't necessarily use every role for every group task, and not every person in the group gets a role all the time because it may not be necessary for the task. Or sometimes, I have fewer than 6 pupils in a group, but there is a need for all the roles, so some pupils may get TWO job titles! I would slowly introduce these roles to younger pupils, but I've managed to be able to use them for as young as Primary 2 (Grade 1).

Let me know if you find this method of Group Task Management helpful in your classroom!